
To start making magic with the Magic Blocks WordPress plugin, you have to download an install the plugin and the companion extension, may be in Firefox or in Chrome.
Download and install the WordPress Plugin
Installing the WordPress Plugin is straightforward:
- Download the magic-blocks.zip file
- Unzip the magic-blocks.zip file
- Copy the magic-blocks folder inside wp-content/plugins folder in your WordPress server
- Validate that the plugin can write to the folder wp-content/plugins/magic-blocks/components. This is the folder where blocks are stored.
- In the WordPress Admin, click the plugins menu.
- Search for Magic Blocks in the list and click Activate
Download and install the browser extension in Chrome
The browser extension has to be installed as a developing extension, because the plugin is in beta testing. For install the browser extension:
- Download the browserExtension.zip file
- Unzip the browserExtension.zip in a local folder
- Open Chrome, click the extensions puzzle icon on the upper right, and then Manage Extensions
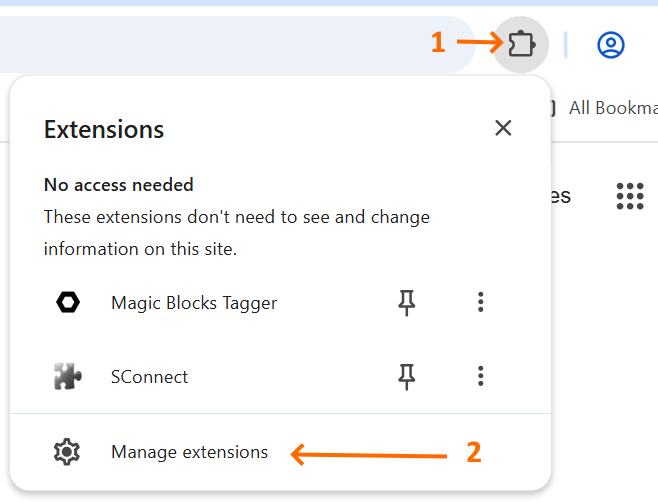
- Check the upper right switch for developer mode is on. If is not, turn it on
- At the upper left corner, click the button Load unpacked
- At the file explorer window, find the folder were you unzipped browserExtension.zip, and inside dist select the folder Chrome
- You will get the a simple form, to connect
- Type the WordPress public URL, and click Connect to WordPress
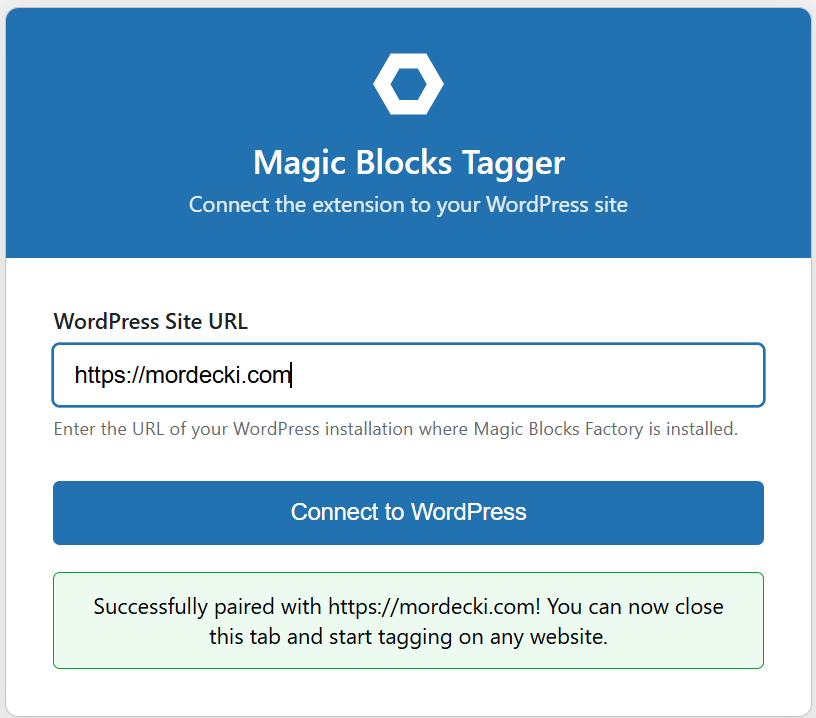
- You are ready for Magic Blocks. Start creating Gutenberg Blocks in your WordPress from any website.
Now you are ready for the next step: Creating a block with Magic Blocks
Leave a Reply