
With Magic Blocks you can select any element in the Web, and include it as a fully customizable Gutenberg block.
- Go to the website you are using as model
- Select the Magic Blocks Tagger extension, clicking on the extension puzzle icon, at the upper right corner of Chrome, and then the plugin in the drop down menu. Optionally you can pin the extension to the upper bar.
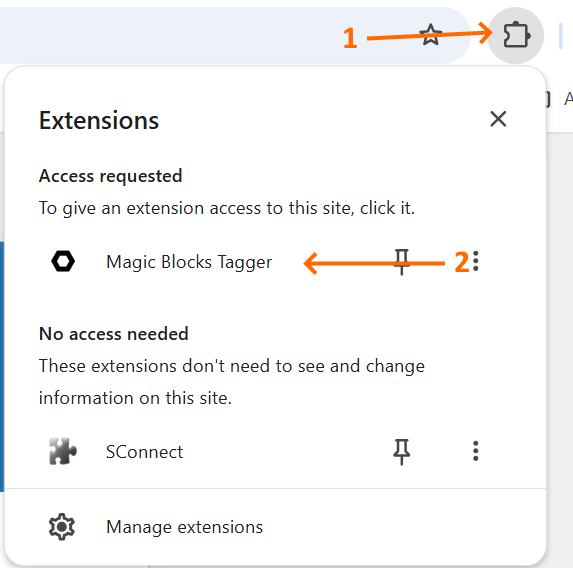
- The Magic Blocks Tagger overlay appears, and the html blocks start to highlight when you move the mouse.
- When you find the block, click on it and add a name on the overlay field. The border changes from orange to blue.

- You have two buttons at the right of the field. The first one goes up in the DOM structure, letting you select invisible divs or wrappers. The second one accepts the highlighted block as the selected one.
- Then you send the block to your WordPress clicking the Send Tags button. Depending on block size and complexity, it can take a second or up to a pair of minutes.
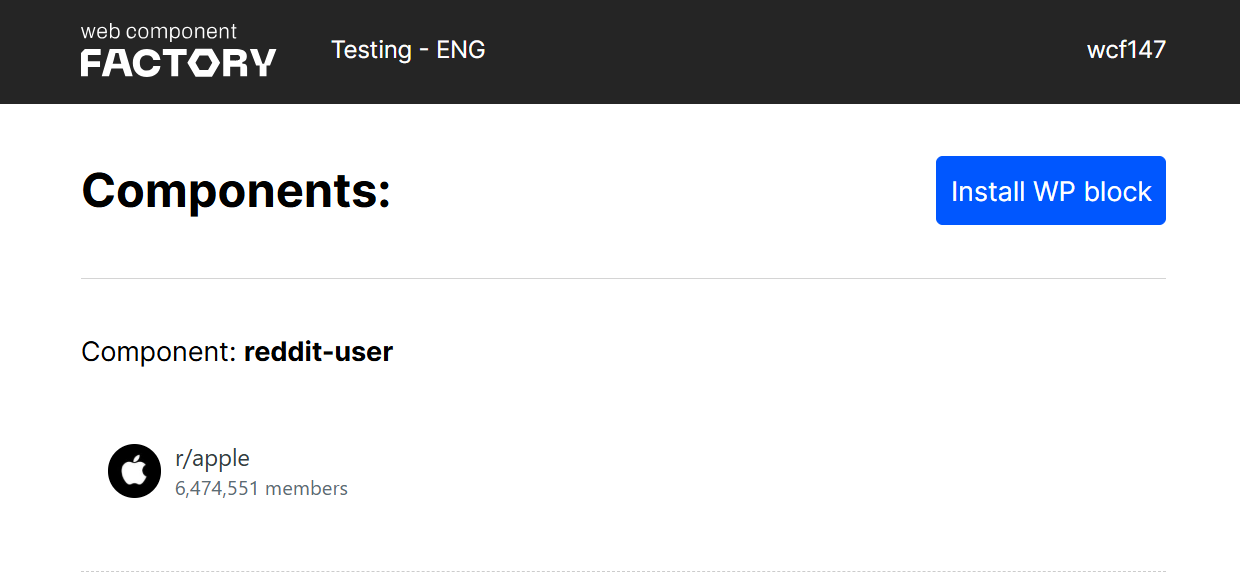
- You will be redirected to the core of the Magic Block logic: the Web Components Factory, where the Guttenberg block is crafted and gets ready to send to your WordPress. Click Install WP Block to begin the magic.
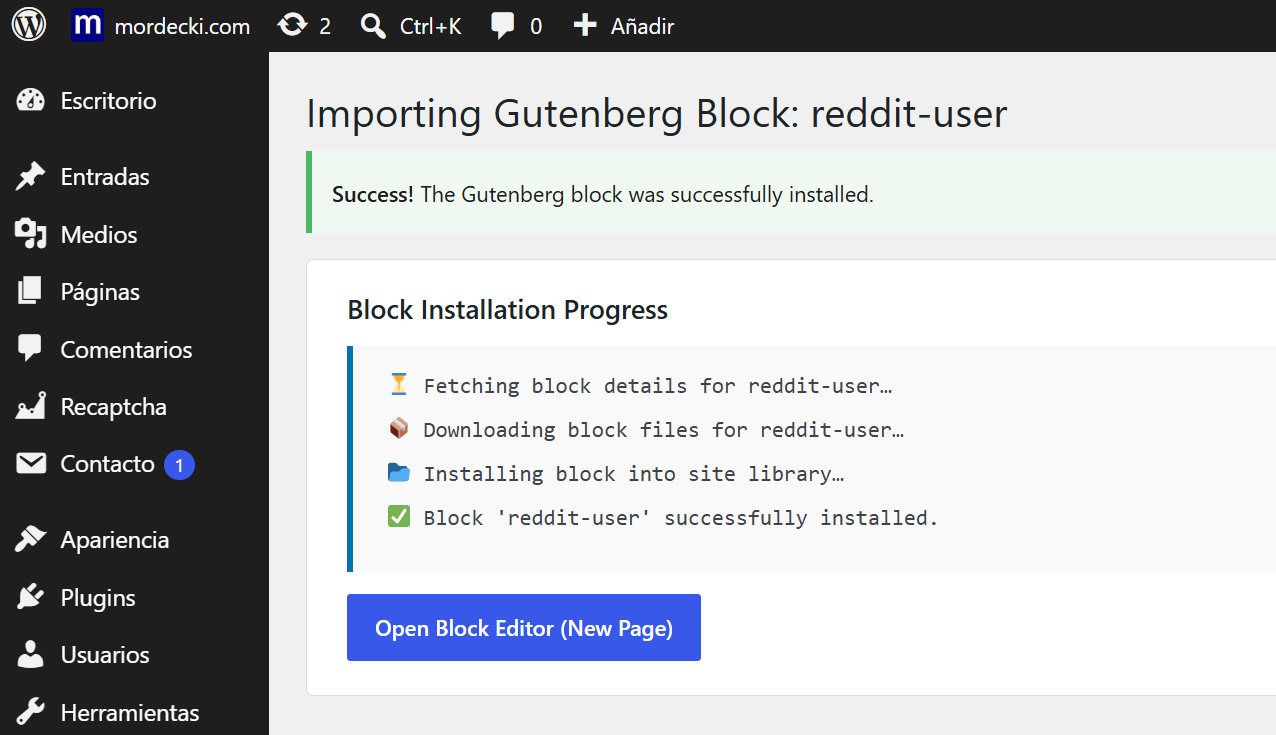
- You will be redirected to the WordPress admin (you have to be logged in, as a security control) and your Gutenberg Block will be incorporated with the name you typed in the overlay field. You are now ready to use your new block
Modifying the block with the inspector
Before clicking the Send Tag Button in the overlay, you can modify the HTML as you want with the inspector.
Even though you can, ysually you don’t want to change the HTML structure, but frequently you need to make little adjustments to the CSS. You can do them de easiest way: adding the CSS properties to each element in the inspector panel. The Magic Blocks Tagger will calculate the CSS giving your added properties the right priority.
Now you are ready for the next step: Using Magic Blocks in Gutenberg
Leave a Reply